
How to make Tiramisu chocolate mousse cheesecake, part 3
Chocolate mousse cheesecake recipe which is 3 layered and made Tiramisu style. Sunday 31st December 2011, Recipe 20111231
How to make Tiramisu chocolate mousse cheesecake, part 3 – an introduction
This 3 layered Tiramisu style chocolate mousse cheesecake recipe makes a softer and more gel like chocolate cheesecake compared to the previous Tiramisu chocolate mousse cheesecake recipe. In the previous recipe I had used a less whipping cream and the recipe turned out more solid. Hence this recipe is an improvement over that.
I hope you would have read my spin on Hervé This’s Chocolate Mousse now I will convert it to a chocolate mousse and cheesecake. If you had read my previous article on mixing cocoa powder, oil & sugar you would know that by accident I found out that cocoa powder could be made into chocolate at room temperature. Hence this Tiramisu style chocolate mousse cheesecake evolved from a combination of experiments I had carried out earlier.
The recipe for the Tiramisu chocolate mousse cheesecake
| Chocolate cream mousse | ||||
| Item | Ingredients | Percentage | Weight | Weight |
| (%) | (g) | oz. | ||
| 1 | Cocoa Powder | 100 | 200 | 7.04 |
| 2 | Sugar | 150 | 300 | 10.56 |
| 3 | Butter | 30 | 60 | 2.112 |
| 4 | Cocoa Butter | 100 | 200 | 7.04 |
| 5 | Whipping Cream | 200 | 400 | 14.08 |
| Cream cheesecake | ||||
| Item | Ingredients | Percentage | Weight | Weight |
| (%) | (g) | oz. | ||
| 1 | Cream Cheese | 100 | 250 | 8.8 |
| 2 | Icing Sugar | 30 | 75 | 2.64 |
| 3 | Whipping Cream | 100 | 250 | 8.8 |
| 4 | Vanilla | 8 | 20 | 0.704 |
| 5 | Cherries | 60 | 150 | 5.28 |
Photos of the Tiramisu chocolate mousse cheesecake making process
1. The Chocolate mousse Recipe
Make the chocolate mousse first and this time around I have discovered another extremely easy way of making the chocolate mousse. Here, I have used a blender, instead of a stick blender, to mix everything.
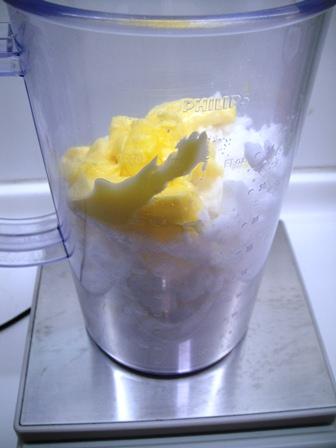
Weigh soft dairy butter which is at room temperature, cocoa butter, sugar. Do weigh everything, except the whipping cream, in a tumbler that can be microwaved. Microwave the ingredients so that the butter will melt and then melt the cocoa butter. We warm up the ingredients until they melt so that during blending, all the ingredients will be uniformly mixed.
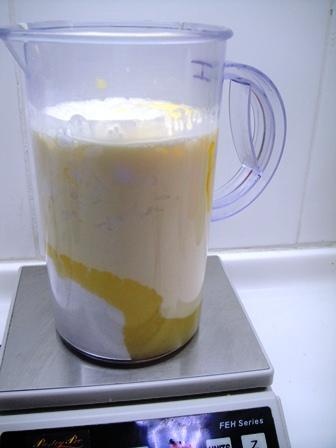
Add the whipping cream and then microwave it again in 30 second intervals so as not to burn any ingredients from the inside. I do add the whipping cream to the warm ingredients so that if you are using cold whipping cream it will not cause too much of a temperature drop. Furthermore this allows better control for a slower temperature rise. You could put all the ingredients together than microwave it but it would take a much longer time in the microwave oven. Blend it well so that the sugar dissolves in the hot whipping cream and that there are no grainy pieces of sugar left. This ensures that the cocoa butter is completely dispersed within the mixture.
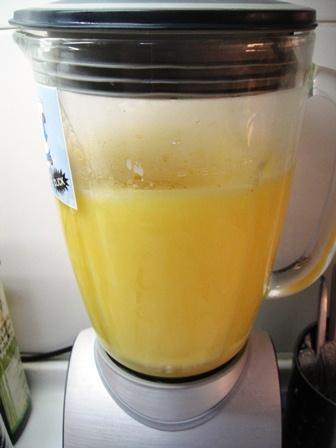
Unlike previous recipes, where I had used a stick blender, this time around I am using an ice crushing blender – a powerful blender. I switched to a heavy duty blender to see if the chocolate mousse could be made with a blender. Here I am blending the cocoa butter, sugar, whipping cream and butter to form a fine solution.
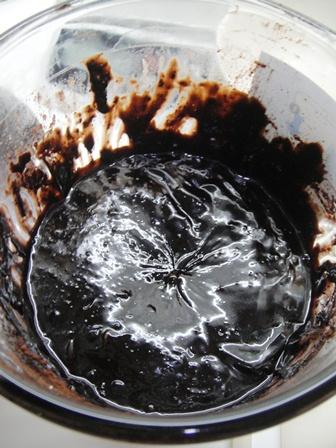
Now add the cocoa powder and blend. Stir the cocoa powder into the mixture before switching on the blender. Switch on the stick blender and blend for less than 5 minutes. Be careful as you do not want your blender to overheat. In this case i kept touching the body of the blender to check if it was getting hot. It did not get hot but to my amazement when I touched the sides of the blended after a few minutes of blending, it was very hot. The heat indicates that there are high shear forces at work causing resistance to the mixing or blending. If I remember correctly, the blending took less than 5 minutes – probably about 3 minutes.The final results was a smooth shiny chocolate mousse with a glossy shine… I do not have enough adjectives to describe the end results so you need to try it out yourself and see for yourself.
Come to think about it, as the blending process generated so much heat, it could be possible just to add everything cocoa powder, butter, coca butter, whipping cream, sugar …etc into the blender at room temperature and blend. No need to microwave, no need to warm up. The heat caused by the shear forces of the blender blades may just melt the cocoa butter and butter into a uniform mix.The heat due to shear forces may have been caused by the presence of thick whipping cream. I don’t think I noticed any warming up of the blended chocolate mousse when I was using water instead of whipping cream and using a whisk instead of a blender.
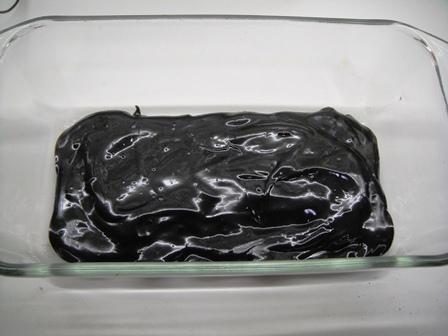
Pour a thin layer of the chocolate cream mousse into the bottom of your serving dish.
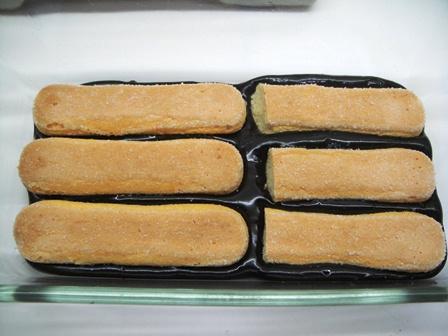
I used some Tiramisu biscuits. I do not know why I keep calling them Tiramisu biscuits, they are actually Lady Finger Sponge Bonomi imported from Italy. As you can see from the photo above I have trimmed some of the biscuits so that they fit into the dish.
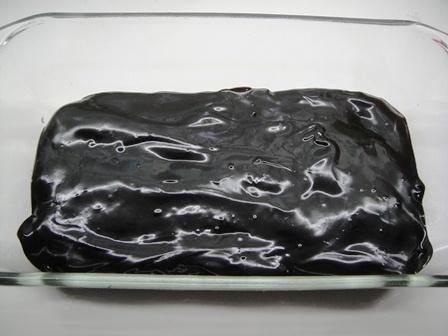
Pour another thin layer of the chocolate cream mousse to cover all the biscuits. Come to think of it, I forgot to dip the biscuits into a strong espresso or cappuccino or Nescafe coffee. Never mind, no one will notice.
2. The Cheesecake Recipe
This is the cheesecake part of the recipe. I am not using mascarpone cheese but good ole New Zealand Anchor cream cheese.
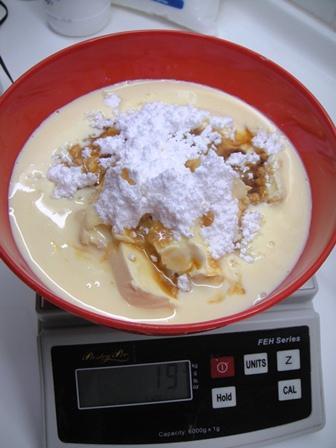
Weigh the cream cheese, vanilla, icing sugar and whipping cream into a tall deep microwaveable container if they are too cold. Then warm them in the microwave oven. By the way if you want to know more about the different cheescakes visit wikipedia and there are more delicious looking cheesecake recipes here.
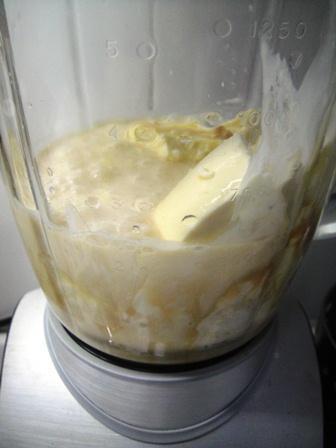
Pour them into a blender and blend until smooth. Don’t blend with the cherries unless you want the cheesecake to be pinkish. Simple, eh?
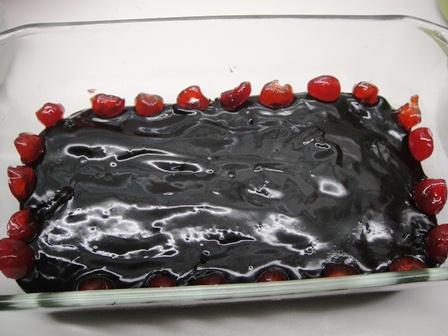
I stuck some of the halved cherries (sugar preserved cherries) into the side of the bowl for decorative purposes then layered the cream cheese in. This was to ensure that some red, red cherries were exposed at the side of the bowl to make it look attractive.
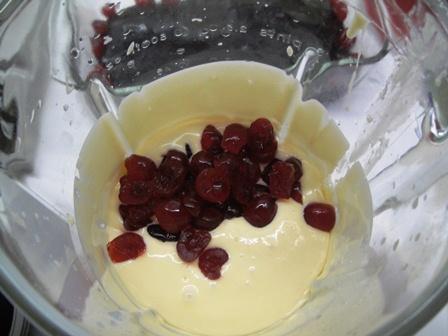
Use a spoon and fold in the rest of the cherries. Do cut the cherries into halves. That will give a chewable feel. If you had cut them too small it will look like a lot of cherries but you may not be able to taste them. I must digress from this chocolate cheesecake and get you to read this article on cherries – I think it is very important.
3. Back to the Tiramisu chocolate cream mousse cheesecake
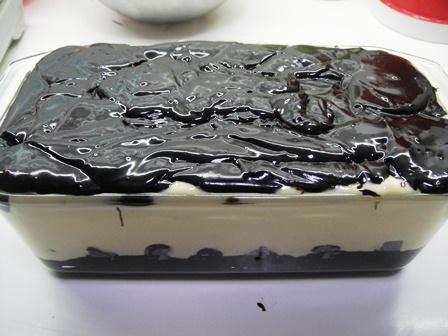
Pour as much of the cream cheese as you like into the dish. It will flow quite easily as the viscosity is still low. At this point you may want to refrigerate the dish to allow the cream cheesecake to solidify before pouring in the chocolate cream mousse. I didn’t allow it to set and hence when I poured in the chocolate mousse it almost made the cream cheese float to the surface.
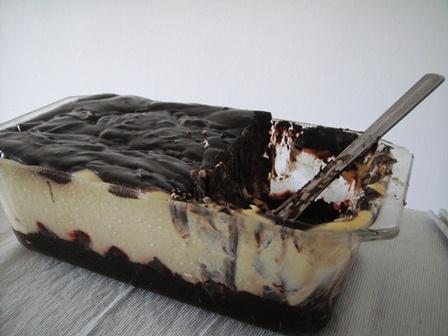
As you can see from the photo above this recipe makes quite a large cheesecake. This photo was take a week after I made this Tiramisu style chocolate mousse cheesecake. It indicates that you can make it 7 days before serving. The longer you store it in the refrigerator more of vanilla aroma diminishes. It is a very rich cake hence the above recipe could easily serve 15 to 20 people. You could add more whipping cream to the recipe to soften it further.
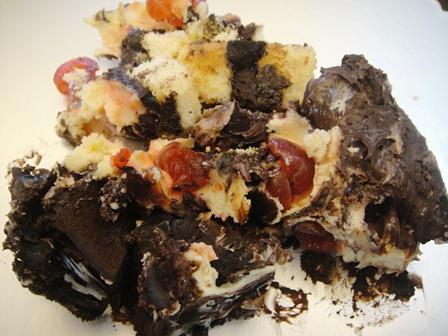
Just to show you how it looked after scooping out some for myself. It was heavenly and I am glad I did not share it with my friends.
This article How to make Tiramisu chocolate mousse cheesecake, part 3 was researched and written by Peter Achutha
Leave a Reply