
How to make cheesecake with homemade yogurt cheese
Wednesday 20th July 2011, Recipe 20110720
How to make cheesecake with homemade yogurt cheese – an introduction
I was looking at the pizza dough (see how to make homemade pizza bread with yeast ) and wondered if it could be converted to a pastry crust recipe then I thought that if I could convert it into a pastry and what should I do with the excess pastry dough? Furthermore, I had to make an interesting filling for the pastry. I had tried my hand at Indian Paneer (see how to make cheese indian paneer ) which is a very basic cheese and now wondered if I could improve on that too. So you are in luck today as I have several products in one article and you will learn how to make the worst cheesecake in the world – we learn from our mistakes.
The last time I made cheesecake (see how to make simple and easy cheese cake 1 ) I had used margarine instead of butter. Margarine is a bit bland whereas butter greatly enhances the flavour of the dough. But margarine makes the pastry stiff as it is a solid at room temperature. The cheesecake pastry was brittle and I wondered if I could use the pizza recipe to give it more strength so that it would not be brittle. I do know that many bakers use eggs in the pastry to improve the pastry brittleness but I didn’t want to do that, so I am trying out extra gluten in the dough. That means I am using pizza flour instead of all purpose or plain flour. I added 1.5% gluten into the plain flour to make it pizza flour (see how to make homemade pizza sandwich). This will allow the protein network to form and try to hold or bind the dough together.
The yogurt cheese part of the cheesecake recipe.
| Homemade yogurt cheese | |||||
| Item | Ingredients | Percentage | Weight | Weight | |
|
(%) |
(g) |
oz. |
|||
|
1 |
Yoghurt |
100 |
1500 |
52.80 |
|
|
2 |
Vinegar | 2 tablespoons of vinegar | |||
Photos of yogurt cheese making process
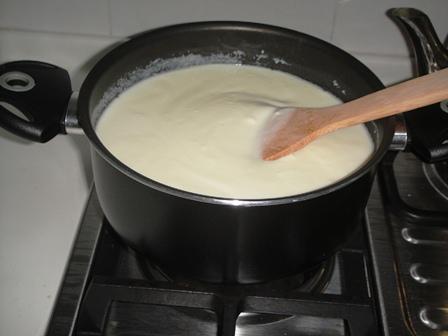
Pour the 1.5 kg ( 53 oz) tub of yogurt into a pot and add 1 cup of water. I am using commercial yogurt that you can purchase from the supermarket as 1.5kg (53 oz) of commercial yogurt yields 0.5kg (17.6oz) of solid curdled yogurt or cheese and I can skip many of the initial ‘proper’ cheese making steps – saves a lot of time and energy. The water is to dilute the yogurt to prevent it from burning. Stir well before lighting the fire.
By the way you can learn a lot about cheese making from Ms. Ricki at www.cheesemaking.com and she supplies all the necessary equipment, gadgets and most importantly the cheese bacteria and books. I bought her books, bacteria and other stuff, and that is why I am not apprehensive about trying out cheese making and have daringly strayed from the tried and tested techniques. Having strayed is, unfortunately, the reason I have no experience at making cheese … successfully … so far. The fun is in the experimenting!
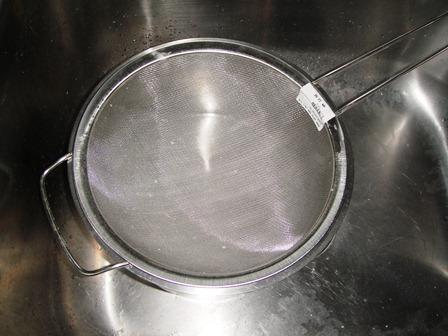
Prepare the straining or draining station. I have placed a big pot with a large strainer in the kitchen sink. Then cover this with a handkerchief. The handkerchief is the strainer and the strainer is there to support the handkerchief.
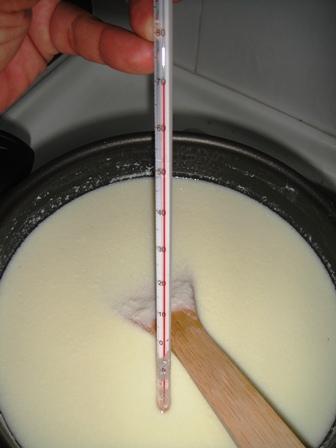
Use a small flame to warm the yogurt until 70C (158F). This is to kill the yogurt’s live culture so that, once you have made the yogurt into cheese, it does not feed on the yogurt cheese and make it more sour. Do make sure you allow 15 to 20 minutes for the temperature to rise slowly or else if you use a faster flame the yogurt will boil and the cheese will not be that tasty. Keep stirring so that there are no hot spots in the yogurt. Once it comes to 70C (158F) add two standard tablespoons of vinegar and stir quickly. Put out the flame after one to two minutes. This will ensure the live culture in the yogurt is dead.
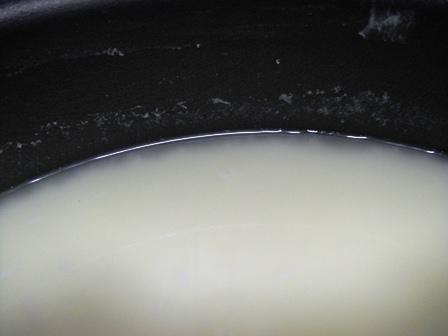
Let the hot yogurt rest for half an hour or so and it will cool down and be much easier to handle. This resting period will give time for the vinegar to work and curdle more of the yogurt. As you can see from the photo above, after half an hour there is a layer of water or whey on the top and it is possible to see curdled yogurt below. This time around the curdled yogurt had a cream cheese aroma. When I made yogurt cheese previously, I had allowed the yogurt to boil or bubble before it reached 70C (158F) and there was no cream cheese aroma.
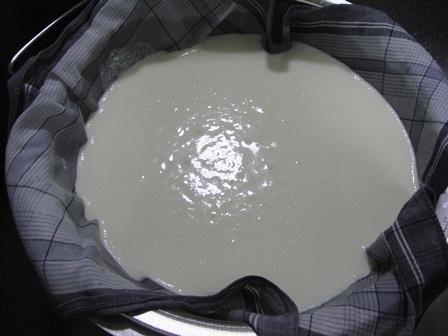
Pour the curdled yogurt mixture into the straining station and allow it to drip overnight. Once the curdled mixture had cooled, I placed the whole contraption into my fridge to allow it to drip in the fridge overnight.
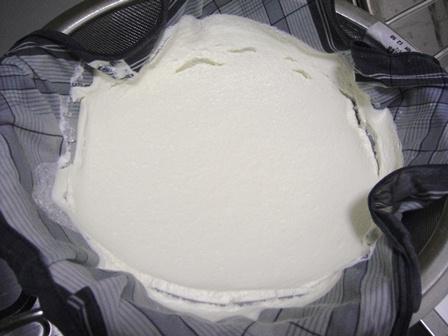
The next day the yogurt cheese was quite dry. There was some residue moisture but if I had spread it out and left it to dry it would be much drier cheese.
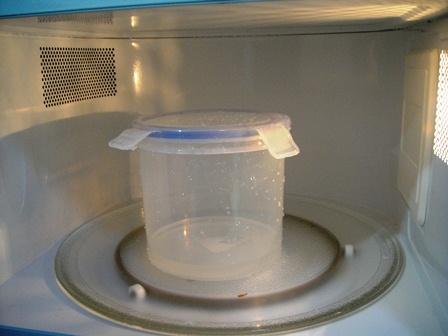
I want to let you know that I have tried making cheese, the proper way, a few times and failed miserably due to contamination of the cheese with fungi and other stuff growing in it. It is very important to sterilise the containers and spoons we use when making cheese. I didn’t want to boil containers in a water bath so I placed some water in the container and microwaved it. Do be careful when you do this as I have melted plastic containers this way. Firstly, the lid is just placed on top of the container without sealing it. This will allow for the steam generated to escape and sterilise the mouth of the container and lid. Secondly, if you have too little water, the microwave energy during the two minute microwaving session will accumulate in the water to form super-heated steam and melt the plastic container. It happened to me when I had one drop of water at the bottom of the container. That drop became so hot that it melted a hole through the bottom of the plastic container and escaped. Furthermore, the microwave energy will by itself kill off any living organism in the container even if there is no water present in the container.
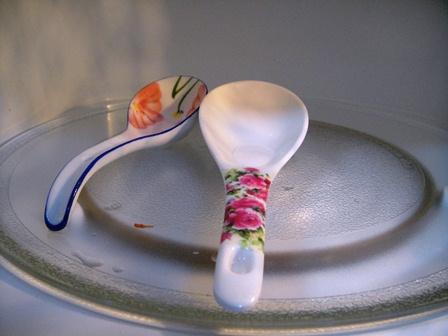
The last time I tried this microwave technique of sterilisation I had forgotten to sterilise the spoons (you cannot use metal spoons) and you could see tiny mushroom like fungi, one mm in height or smaller, appearing, a week later, on the surface of the cheese where the spoon had last touched the cheese. This time around I am not forgetting to sterilise the spoons. It would not be critical if you will be consuming the cheese within one or two days of making but if you plan to store the cheese for more than a week and upto few months, it is best to sterilise everything.
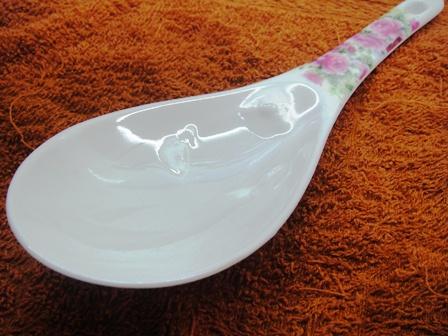
After 30 seconds of microwaving I heard bursting sounds and found that one of the spoons was bursting. Not only have I lost a container but now I have lost a spoon. It looks like either melamine ware cannot be microwaved or there is moisture content in the melamine ware that ‘explodes’ during microwaving. Nothing happened to the ceramic spoon.
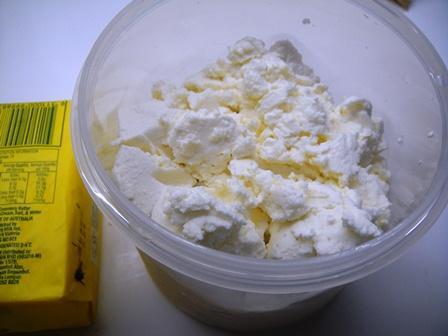
Scoop up the yogurt cheese and place it into the sterile container and store it in the fridge. The cheese is still a bit sour due to the fact that it was made from yogurt.
Let us now look at the dough.
The pastry part of the cheesecake recipe.
| Item | Ingredients | Percentage | Weight | Weight | |
|
(%) |
(g) |
oz. |
|||
| Sponge | |||||
|
1 |
All Purpose Flour |
100 |
300 |
10.56 |
|
|
2 |
Sugar |
10 |
30 |
1.06 |
|
|
3 |
Gluten |
1.5 |
4.5 |
0.16 |
|
|
4 |
Water, Cold |
50 |
150 |
5.28 |
|
|
5 |
Salt |
1.5 |
4.5 |
0.16 |
|
|
6 |
Butter |
20 |
60 |
2.11 |
|
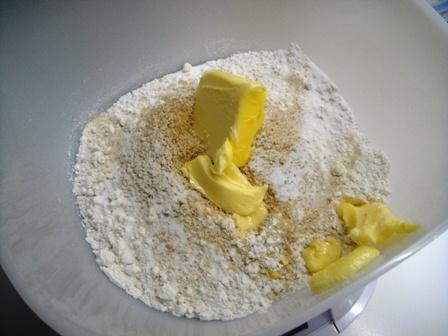
Place all the ingredients, except the water, into a bowl and mix them with your fingers.
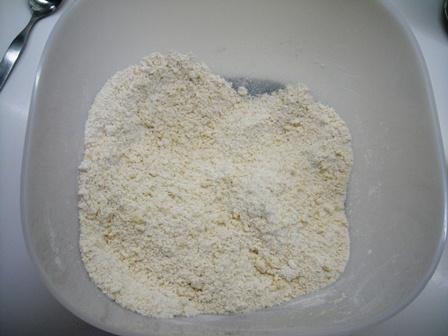
It will form a crumbly texture.
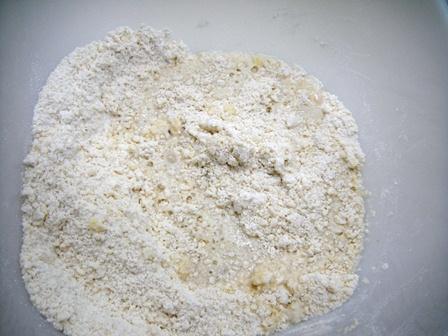
Add the water in one go.
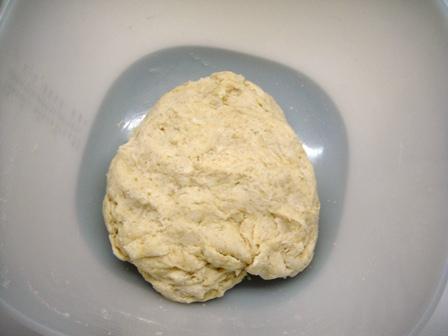
Then take a few minutes to knead the dough with your fingers. It will come cleanly off the sides of the bowl and form a lump. Place the dough in the fridge for 30 to 40 minutes. This is to allow the dough to rest. If you do not allow it to rest and try to roll out the dough with a rolling pin, I can tell you from personal experience, the dough will be so rubbery that every time you roll it out it will shrink back. Sprinkle some flour on the kitchen worktop so that it will be easy to roll out the dough.
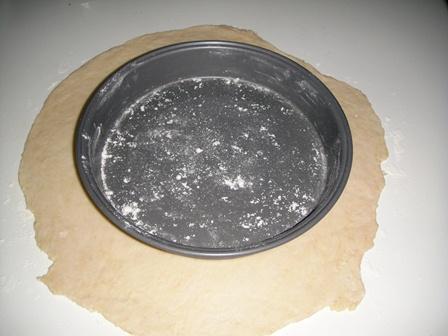
Roll the dough so that it is much larger than the baking tin.
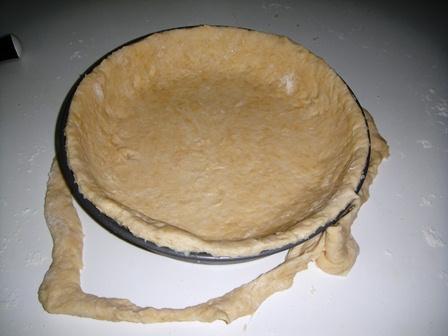
Place the dough into the tin and trim the edges of the dough. Make sure that there are no air pockets under the dough.
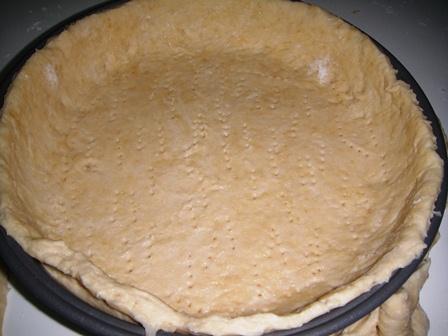
Stab the dough with a fork so that it will not rise during baking.
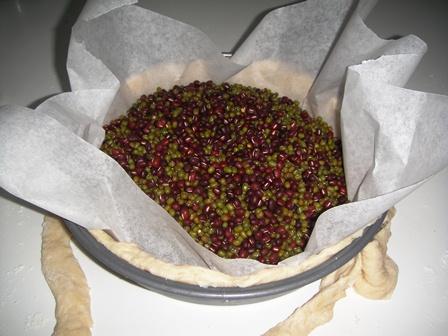
Weigh down the center of the dough with some beans so that it cannot rise during baking. I baked it for 20 minutes than took out the beans and baked it for another 15 minutes. This was a mistake. I should have baked it for 10 minutes than taken out the beans and baked it for another 15 to 20 minutes. The initial bake time was too long and at the end of the second bake, the pastry started to smoke.
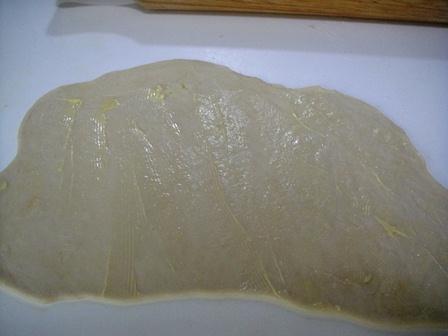
What to do with the excess dough? I decide to practise my puff pastry making skills and tried to make biscuits with it. Roll out the excess dough and dab some butter on it. I have used too little butter but it does not matter as this was an experiment. After dabbing the butter take one half of the dough and fold it over the other side. Then roll out the dough again. Dab it with more butter and then fold the dough into two. I did this about 6 times. This is not the correct method of making puff pastry but I was just practising. The correct method is the English method or the French method and they use a lot more butter and refrigerate the buttered dough in between folds to keep the butter firm.
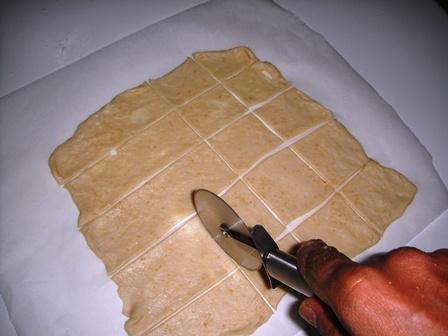
Place the buttered rolled dough onto a baking paper and cut it up into squares. I am using baking paper so that it will be easy to transfer it into the baking tray.
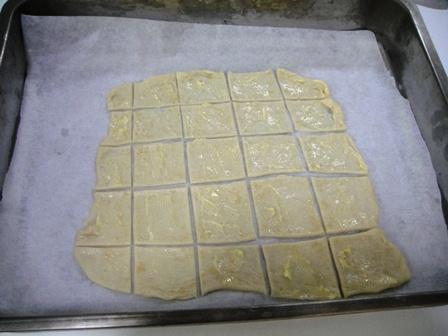
Hold the baking paper by opposite corners and you will find it easier to transfer into the baking tray. If you had tried to carry it by holding on to the sides of the baking paper the dough pieces would have dropped out.
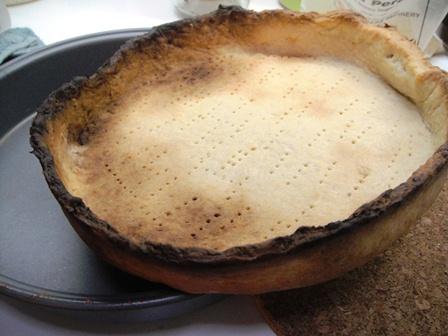
I should have baked for a much shorter time. The pastry is hard as rock and could easily be used as a drum if was turned upside down. And you can see the burnt edges where it started smoking. It does look like all failed, doesn’t it? Not really, as it shows that the extra gluten can be used to make a strong pastry – real strong pastry … brick pastry, anyone?
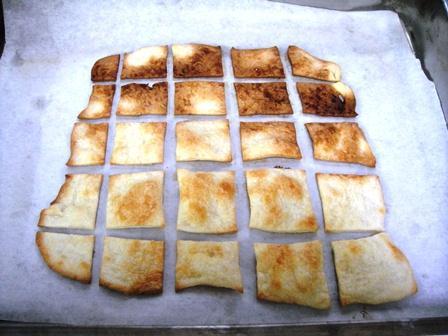
Can you see how the ‘biscuits’ turned out. I had sprinkled some sugar on top before baking. Not too bad but I would not serve it to my friends just yet as it does need some improvements but I am on my way to figuring out how to make crackers.
Oh well, if all else fails let us carry on with the cheese.
The yogurt cheese part of the cheesecake recipe.
| Homemade cheese topping | ||||
| Item | Ingredients | Percentage | Weight | Weight |
|
(%) |
(g) |
oz. |
||
|
1 |
Yoghurt Cheese |
100 |
250 |
8.80 |
|
2 |
Salt |
1.5 |
3.75 |
0.13 |
|
3 |
Sugar |
10 |
25 |
0.88 |
|
4 |
Mandarin Orange Concentrate |
20 |
50 |
1.76 |
|
5 |
Brandy |
2 |
5 |
0.18 |
|
6 |
Thickened cream |
25 |
62.5 |
2.20 |
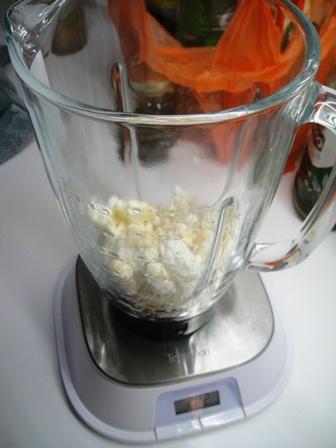
I am measuring all the ingredients directly in the blender jar which sits on top of the weighing scale.
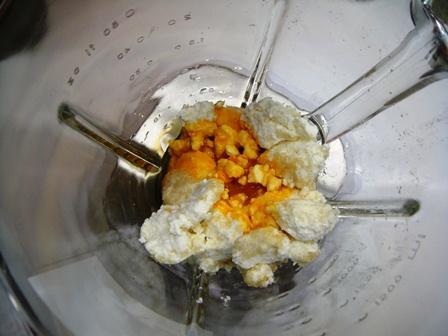
I haven’t added the cream yet. This was too thick for the blender to stir as it would not fall down into the blender blades so I added some cream and that is how cream came into the recipe. I had used Mandarin Orange concentrate instead of the standard orange concentrate. You could try this with the standard orange concentrate.
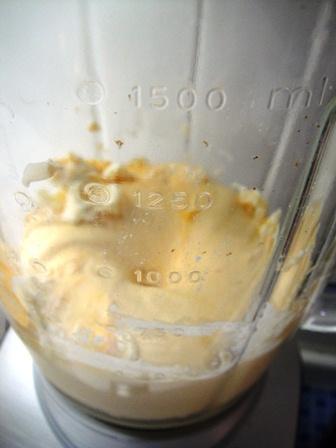
With the cream it blended well after some poking with a spoon while the motor was off. Once completed blending, switch off the motor and use a plunger or a long spoon to mix the contents uniformly as the part below the blades may have not mixed properly.
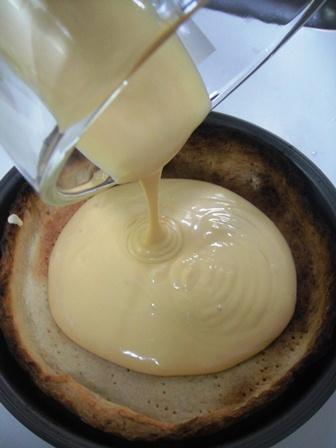
The blend pours out as a very thick almost custard like gel.
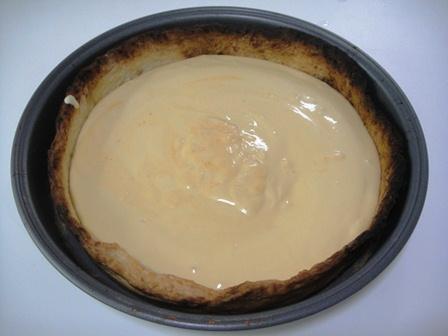
It does look good doesn’t it? Pictures do tell a lie. The pastry was rock hard stone and difficult to eat and the cheese was too watery to stay in one place. When I somehow managed to cut through the pastry the cheese flowed out.
Honestly, this is the worst cheesecake I have ever made in my life … errr … it is my second cheesecake. But all is not lost as I now know that gluten can be used to prevent the pastry becoming brittle. And the yogurt cheese sauce could be improved with just a little more Sunkist orange concentrate, probably another 5% to 10%.
The yogurt cheese sauce was … was …. let’s say it was heavenly. Just image you have a salad dish of lettuce, tomatoes, … and you poured this cheese sauce on top … you will be in heaven. Just imagine you had a wine glass filled with fruits, … strawberries, those tiny oranges you get in tins, lychees, … and your pour this creamy yogurt cheese sauce on top. This yogurt cheese sauce is just simply delicious beyond description especially when served cold.
Next time I will add chilli powder and make it a sauce form hell.
This article “How to make cheesecake with homemade yogurt cheese ” was researched and written by Peter Achutha
Leave a Reply