Garlic bread, batter and dough method
 This is a new simple and easy method of making garlic bread using steamed garlic cloves that everyone can do at home. It is easy to make garlic bread with the Batter and Dough method. I do hope this Batter and Dough method does help everyone to make bread at home.
If you had read my previous article on the Batter and Dough method to make bread, you would know that the beauty of this method is that you do not need to knead the dough to make excellent garlic bread. The garlic bread turns out moist and tender.
Traditionally, garlic bread is made by cutting a baguette and dabbing garlic pieces and olive oil. In this recipe I have incorporated the garlic into the dough but I have not used olive oil as I was testing out a new bread flour.
Why add garlic cloves into bread? Garlic has loads of nutritional benefits. Raw garlic will kill of many viruses, bacteria and fungi hence it has to be cooked before mixing into the dough and yeast.
Garlic bread using the batter and dough method
Garlic bread is not a recipe but a method of incorporating garlic and olive oil and other herbs into a ready baked baguette style bread. The bread can be made from sour dough or just bread flour. The method used to make the bread would be the Straight Dough method or the Sponge and Dough method. I will be showing you a recipe for garlic bread using my Batter and Dough method, that is I incorporate the garlic into the dough before baking.
Make garlic bread with the Batter and Dough method – simple and easy bread recipe
| Garlic Bread Recipe | ||||
| Item | Ingredients | Percentage | Weight | Weight |
| (%) | (g) | oz. | ||
| 1 | Bread Flour for Batter | 10 | 40.00 | 1.41 |
| 2 | Bread Flour for Dough | 90 | 360.00 | 12.67 |
| Subtotal | 100 | 400 | 14.08 | |
| Batter | ||||
| 3 | Cold water | 55 | 220.00 | 7.74 |
| 4 | Sugar | 2.5 | 10.00 | 0.35 |
| 5 | Instant Yeast | 1 | 4.00 | 0.14 |
| Dough | ||||
| 6 | Salt | 1 | 4.00 | 0.14 |
| 7 | Butter | 7 | 28.00 | 0.99 |
| 8 | Steamed garlic | 6 | 24.00 | 0.84 |
The Batter and Dough method has two stages, the batter stage and the dough stage. In the batter stage we add 10% of the bread flour, sugar and yeast into all the water called for in the recipe. The batter is allowed to rest for half an hour and not any longer for the gluten to form. Please see my explanation for this.
The second part is the dough stage where the rest of the bread flour is mixed in partially and then all other ingredients are added to make the dough.
Photos of how to make garlic bread with the Batter and Dough method
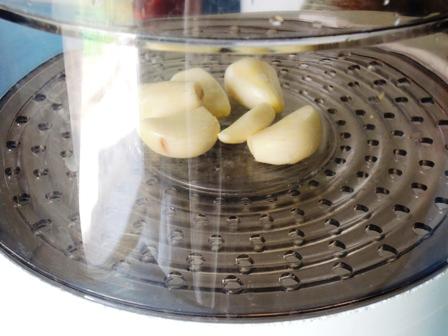
Take a few cloves of garlic and steam them for an hour. Steaming ensures that you cannot burn the garlic or whatever you are steaming. You could place the cloves of garlic and bake them for an hour at 100C (212F) but do wrap them up in aluminum foil or else the moisture content will evaporate and it will not be soft and mushy to be incorporated into the dough. I have tried baking garlic cloves in a non stick baking tin and the end result was that the non stick layer of the baking tray came off. I do not know whether it was that particular brand of non stick baking tin or it happens to all non stick surfaces.
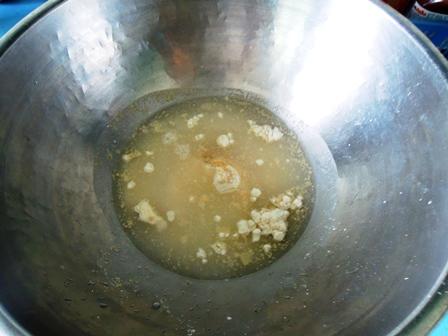
Make the batter with the 40g of bread flour, sugar and yeast and use a whisk to mix them in thoroughly. Whisking should take a few seconds. This batter stage is used to bring out the gluten in the flour so that we do not need to knead the dough to make the garlic bread. Do not exceed the half hour mark or the garlic bread will have a very rough and course mouth feel.
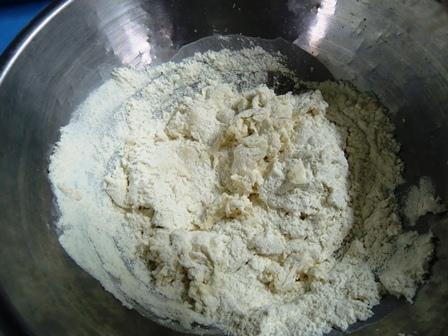
After half an hour add in the rest of the bread flour and mix for a few seconds until the batter is incorporated into the flour. Just a partial mix and not until it is a dough.
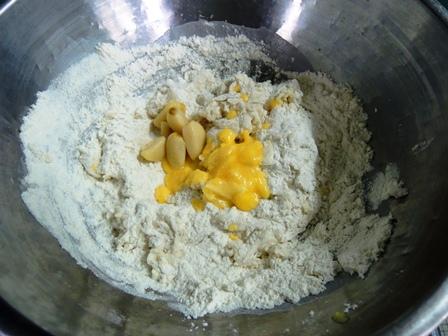
Add in the rest of the ingredient for the garlic bread recipe, that is the salt, butter and the steamed garlic. The steamed garlic is very soft and is easily squashed and incorporated into the dough.
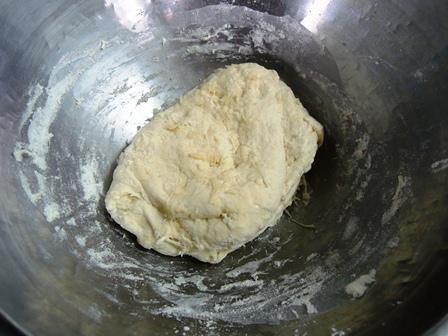
Fold the dough on its self and press down 5 to 20 times. This will ensure a good mix and it will form into a solid dough.
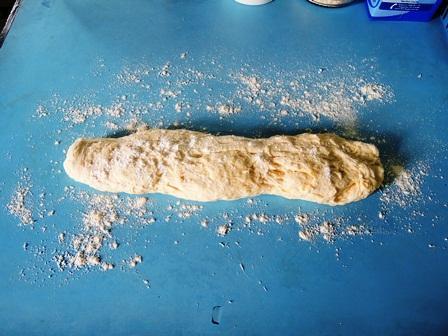
Stretch the dough out on the clean work surface. Roll it a few times. I was testing a new bread flour and it looks like this bread flour has a lower water absorbancy hence I needed to sprinkle some plain flour on the work surface to prevent it from sticking to the table top.
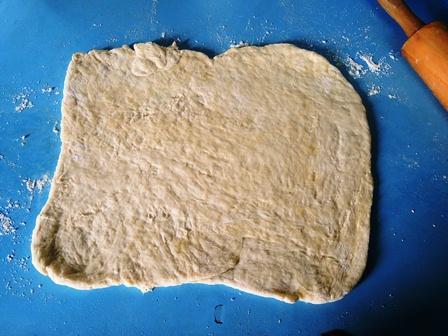
My bread rolls normally turn out odd shaped so here is a little trick that I devised to help me get uniform rolls. Use a rolling pin and sheet out the dough into a squarish shape.
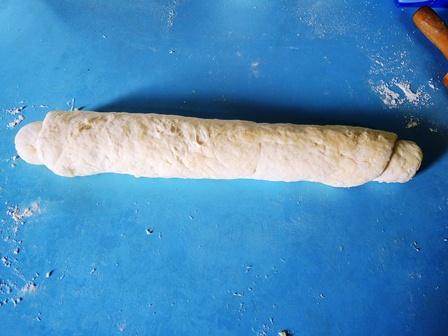
Then roll the sheeted dough on itself to form a log shape. When you begin the roll ensure that there are no air gaps if not they will show up later after you have baked the garlic bread.
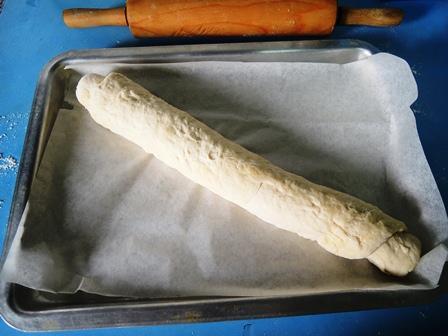
Place the roll into a baking tray. I am using a baking paper sheet underneath so that the bread will not stick to the tray. Allow the dough to proof for 4 hours. It will rise and at least double in size.
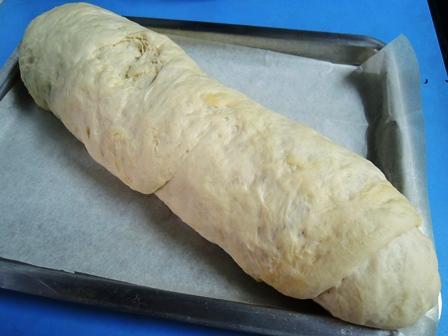
The dough rose quite a bit. I think there are some chemicals in this brand of bread flour to soften the dough and make it easier to rise but I can’t say for sure.
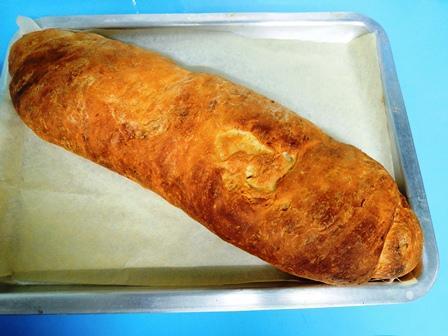
Bake for 30 minutes at 230C (446F) and you will have a wonderful garlic bread roll.
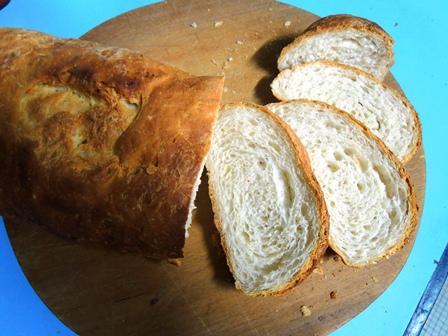
See how wonderful the garlic bread roll is. Surprisingly it had a very mild aroma of garlic. I was expecting a very strong smell of garlic but it did not turn out like that. If you like a stronger aroma of garlic add more garlic into your garlic bread recipe.
There are many more ingredients you can add to your garlic bread to enhance the flavour. For example you could add a little cheese, chives and olive oil into the garlic bread recipe. I will make another improved garlic bread recipe later.
Batter and Dough Method for making bread – no kneading
4. How to make garlic bread the batter and dough method
3. how to make bread the batter and dough method
2. How to make bread with self raising or self rising flour a new method
1. How to make plain simple bread a new method
This article on How to make garlic bread the batter and dough method was researched and written by Peter Achutha
Leave a Reply