10 February 2011 : Recipe #24
Time flies very quickly when you are preoccupied. When I restarted the bread, wholemeal bread to be exact, experiments I realised that it has been more than a year since I looked at bread making. This time around I will be more systematic and bring in my engineering methodologies and my rubber technology chemical knowledge. First things first, I have to determine the appropriate temperature to bake bread. There were nagging doubts as to why the bread would not rise.
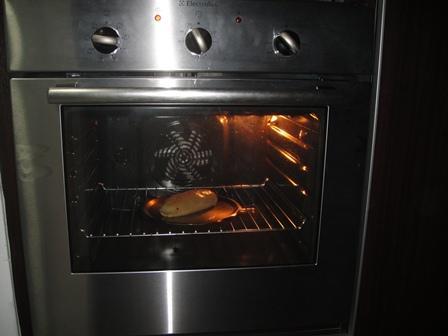
Either the gases generated by the baking soda (Sodium Bicarbonate) escaped through the bread before it could rise or the bread ‘cooked & hardened’ too early thereby preventing the released gases from the baking soda to expand the size of the bread and make the bread rise. We don’t have this problem when we are using yeast as when you are using yeast, the bread is allowed to expand before placing into the oven to cook.
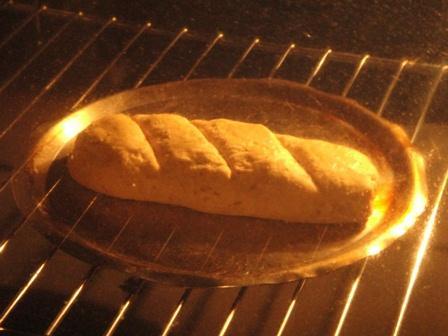
Baking Soda releases it’s gases at 70’C ( 160 ‘F). Don’t use Baking Powder as Baking Powder releases gases when it comes in contact with water. That means the moment you mix the water into the flour you have to rush it into the oven or else all the gases will bubble out of the dough/batter. I ran two experiments, the first was baked at 150’C (300’F) andthe second was baked at 190’C (375 ‘F).
The lower temperature of 150’C was to see if the bread would rise before it hardened. Hence the lower temperature and longer cooking time. From the experiments it was observed that the bread in the second experiment doubled in size where as the bread in the first experiment hardly changed size. This would indicate that bread cooks better at the higher temperature. My guess is that the bread is forming a gaseous seal as it cooks thereby trapping the gases in the bread and forcing the bread to rise. This means that the bread mixture is a sort of gluey gel that traps gasses causing it to rise well before it gets fully cooked.
13 February 2011: Recipe #25, #26 & #27
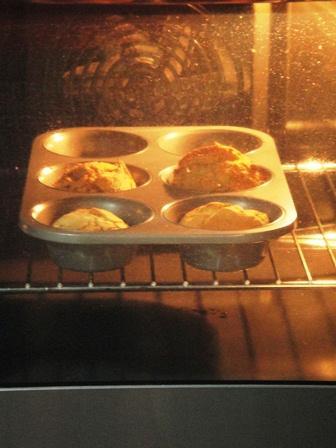
The formulation I used for Recipe#24 & Recipe#25, was as follows:- 1 cup self-raising flour, 1/3 cup wholemeal flour, a pinch of salt. a flat teaspoon of sugar, two teaspoons of baking soda, 1/3 cup of water. Remember, I am trying to make wholemeal bread and not white bread. I am using self-raising flour instead of bread flour as I know it will rise and I didn’t want to complicate the experiments by using bread flour and an unknown quantity of baking soda.
You will see that I used a tray and on the left is the bread recipe with 1/3 cup of water and on the right is the bread recipe which has 1/2 cup of water. You will observe that the bread on the right hand side rose more than the left hand side. This means that if the bread dough is not too ‘thick’ it will be easier to rise. You will notice that both samples have a ‘cracked open’ look.
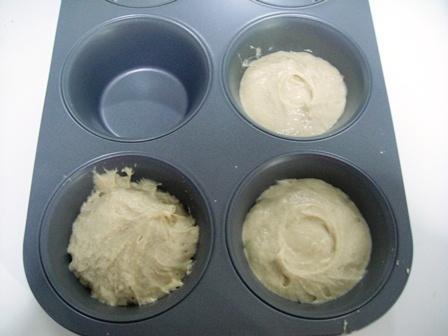
I remembered that cakes do not have this problems but cakes are loaded with egg proteins. As I did not want the bread to be similar to cake, I used milk. I replaced the 1/2 cup of water with 1/2 cup of cold milk. That worked beautifully, the bread hardly broke up but the bread had a really distorted shape as the dough was very thick and difficult to spread smoothly into the baking tray resulting the top of the bread having ‘mountains & valleys’.
In the rubber industry we use oil to bring about lower viscosity and better flow properties.
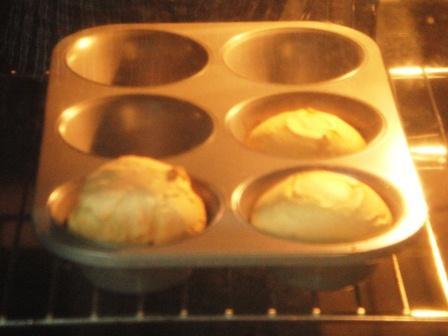
Hence, I added 1/6 cup of oil to the recipe and you can see the difference in the way the bread rises. There is a little bit of cracking but it is not as bad as without milk. Furthermore, I think I may have to do some more adjustments as I want to prevent the bread from turning too dark brown.
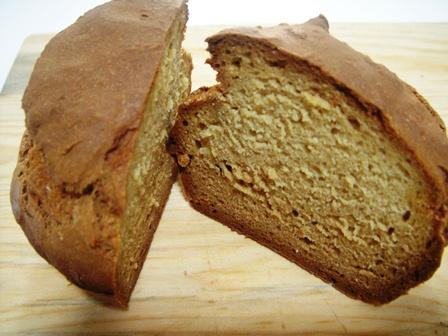
- Edible Bread
The outside is almost chocolate colour. The inside is yellowish which I think is due to the wholemeal flour used in the recipe. This version of the recipe was very edible and I had it with butter. This recipe resulted in a soft moist bread. When the bread was left out in the open for a few days, it was still moist and had not dried up. The soft moist texture can be explained by the presence of oil. Both oil and water appear moist to our tongue. If there was no oil in the bread the water content would have evaporated within a day and the bread would have dried up. On the other hand oil will not evaporate as quickly as water (Oil may take weeks or months to evaporate). I used Palm Oil as it is neutral in flavour and ordourless but you could experiment with other oils and fats such a butter or olive oil. Olive oil would probably give the bread a strong olive oil flavour and smell. Butter and other polyunsaturated oils and fats will give a shorter shelf life when compared to Palm Oil as polyunsaturated oils and fats have many more double bonds which when oxidised can give a rancid or off flavour.
Leave a Reply