
How to make apple cider bread with yeast part 2 – The Accidental Recipe Modified
Wednesday 20th June 2011
Recipe 20110620
Apple Cider Bread Introduction
If you read my article on apple cider bread part 1 (see how to make apple cider bread with yeast part 1) you would have noticed that I had mentioned that it was too sweet. Here is the improved recipe for the apple cider bread. I am now aware that my apple cider may not be the real thing but I will have to find some real cider one of these days and try it out. The recipe below is a much better recipe for apple cider bread.
The Apple Cider Bread recipe is as follows – the Straight Dough Method.
| Item | Ingredients | Percentage | Weight | Weight | |
| (%) | (g) | oz. | |||
| Sponge | |||||
| 1 | Bread Flour | 100 | 300 | 10.56 | |
| 3 | Instant Dry Yeast | 2 | 6 | 0.21 | |
| 4 | Sugar | 5 | 15 | 0.53 | |
| 5 | Apple Cider | 80 | 240 | 8.45 | |
| 6 | Salt | 1.5 | 4.5 | 0.16 | |
You will notice I had reduced the sugar back to 5% and increased the amount of yeast use to 2% so that there is twice as much yeast to consume most of the sugar. The fermentation period was increased for 4.5 hours so that the yeast would have more time to consume more sugar.
Photos of apple cider bread making process
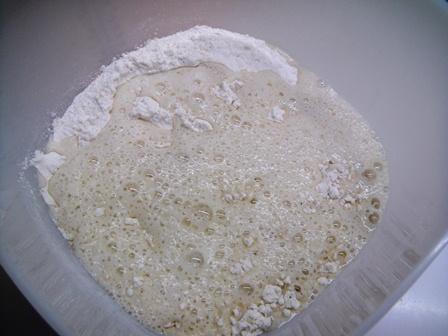
Mix all the dry ingredients so that they will be uniformly distributed in the flour then pour in the apple cider from the can. This is a very easy recipe to make. I do not know why it was easy, I didn’t even mix it in a mixing bowl. That is the picture of the weighing scale bowl.
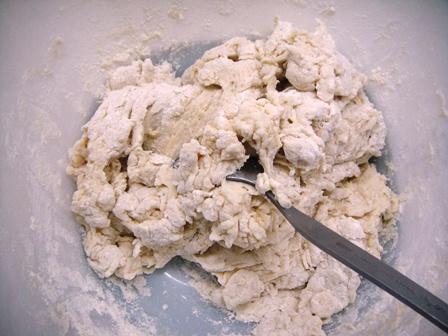
Fold the sponge on itself. It will absorb all the cider. Do notice I am using the water absorbent bread flour. (see how to make yeast bread rise more)
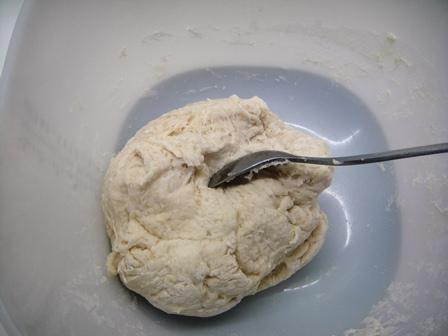
This time around I did not stop at just folding the sponge. I went a bit further and tried mixing or kneading a little with the spoon, until the sponge started to get a bit sticky and the ‘water broke’. (see how to make bread with yeast 3) That is the water was coming out of the flour.
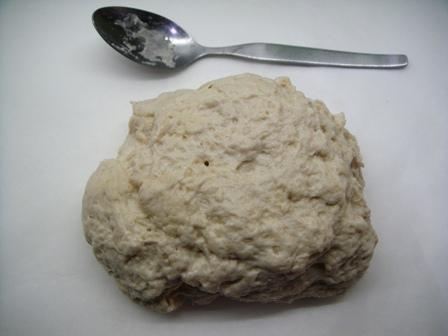
This was at the beginning of the 4.5 hour fermentation / proofing period. You will notice that the dough looks wet or damp not like if I had stopped mixing the dough at an earlier stage.
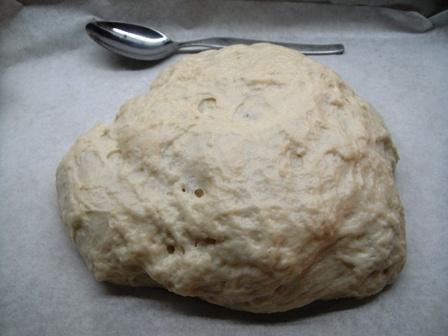
After 4 hours of fermentation the dough does look a little larger. You can use the spoon in the background to compare the size difference. But photos can be misleading. Can you see the little ‘scar’ marks running along the surface of the dough. I suspect that they are due to the apple juice / cider.
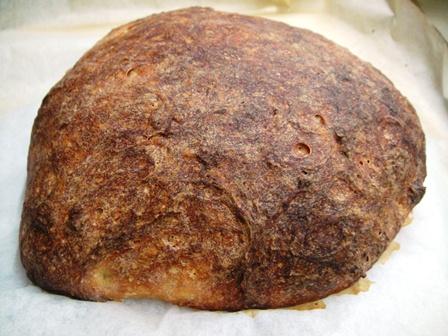
After baking for 45 minutes at 220C (428F) bread looks good. You can see the ‘scars’ on the surface of the bread.
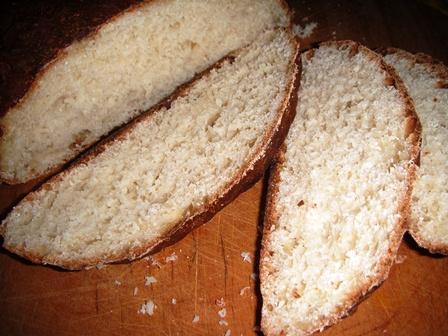
The sliced bread did not taste sweet as in the previous recipe and was very much better.
This article “How to make apple cider bread with yeast part 2 ? was researched and written by Peter Achutha.
Leave a Reply